Showing posts with label crafty mom. Show all posts

May 6, 2013

busy days and a diaper giraffe

When Friday evening rolls around, I breathe a sigh of relief that the work week is over and I will actually have some time to relax over the weekend ... 
 
Unfortunately, although they seem rather unassuming as they approach, that hasn't been the case for a couple of weekends now!

This weekend, part of the "busy-ness" included a baby shower for one of my childhood friends.

And what is a baby shower without a diaper animal?


Since the "theme" of her shower was giraffes, I set out to make one as part of her gift. 

Using the following tutorial as a basic guide (and with the addition of some pipe cleaners within the legs to hold them together, some wooden popsicle sticks to support the neck, and different embellishments), I ended up with something pretty cute.


And while it wasn't as relaxing as I had hoped, it turned out to be a nice weekend afterall!

April 2, 2013

pearl's first birthday bash (a recap)

The month of March was a whirlwind of activity!

Between prepping and packing for moving and planning a first birthday party for my girl (that would hold up to the standard set by her brother's first birthday party), I am lucky that I'm still in one piece!

But it was all worth it ... 

(I love it when an idea just comes together!)

Pearl's pink and green owl party theme came from a cute invitation I found and purchased on Etsy back in January (nothing like getting a jump on things!).


I originally planned on making an owl-shaped cake out of cupcakes (sort of like the octopus cake for Malcolm's third birthday), but changed gears at the last possible moment when I found the following pattern during a Google search. 

I adapted it slightly for my needs and wants, and ended up with this ...


I had just enough cake left over for a small "smash cake" so that Pearl could dig in ...
 
 
And "dig in" she did (she practically ate the entire thing)!!
 
 
All in all, everything went off without a hitch and everyone had a great time celebrating my baby girl's first birthday!

Now, hopefully, moving goes just as smoothly ...

March 18, 2013

birthday mode

Our house is a mess (I hold "moving" fully responsible), and among the boxes (and boxes!) of things packed and ready to go are Pearl's birthday decorations and favors ...


Less than a week until her first birthday celebration!

I hope they don't get lost in the shuffle before then ...

December 26, 2012

a different kind of christmas cookie

On the very first day of my Winter Break, Malcolm and I spent part of the afternoon whipping up a batch of Peanut Butter Dog Treats for my sister's dog (our furry nephew/cousin), Emmitt.  Not only was it an easy Christmas gift to put together, it was fun to work in the kitchen alongside my boy.


(It didn't hurt that, halfway through, he exclaimed "Mom is a good cook!")

Here is how you can make your own treats for the four-legged friends in your family ...


You will need:

1/2 cup water
1/2 cup oil
2 eggs
3 tablespoons peanut butter
2 teaspoons vanilla
2 1/2 cups flour
1/2 cup cornmeal
1/2 cup rolled oats

To make the treats:

Preheat your oven to 400 degrees.

In a large bowl, blend the water, oil, eggs, peanut butter, and vanilla together until well combined, then set aside.  Whisk the flour, cornmeal, and oats together in a small bowl.  Add the dry ingredients to the wet ingredients and mix until a workable (it will still be quite soft) dough forms.

Roll the dough out (to about 1/4 to 1/2 inch thick) on a floured surface and cut the treats in whatever shape you desire.  We used cookie cutters to make bones, dogs, and some letters ("M" for Malcolm and "E" for Emmitt).


Place on an parchment paper-lined, or (ungreased) nonstick cookie sheet.


Bake for 20 minutes.  After the 20 minutes are up, turn the oven off and leave the treats inside as it cools (this will allow them to become nice and crisp).


Store in an airtight container once they are cooled ... We "fancied" our treats up by putting them in a glass container and adding ribbon and a festive tag (since they were a Christmas gift).


Although Malcolm was disappointed that he could not taste the finished product, he was so excited to give the gift to Emmitt ...

December 24, 2012

to those on my digital mailing list

Although some of the photos were already posted, here is this year's Christmas card.


I hope you and yours have a wonderful holiday season!

November 1, 2012

malcolm python and the holy grail

When I thought of this year's (coordinating!) costumes for my kids (Sir Galahad and the Killer Rabbit from "Monty Python and Holy Grail"), I had visions of how I was going to get the "perfect picture" and post it on this blog.

Long story short, the wind and weather up to this point, did not allow for the staged awesomeness that I had in mind ... So some pictures from this past weekend's indoor trick-or-treat church event will have to suffice.

Here's my knight ...  And winner (for the second year in a row!) of the kids' costume contest! 


Hooded sweatshirt: Circo ($8.00)
Long-sleeved tee-shirt: The Children's Place (thrifted for $1.00)
Pants: Jumping Beans (hand-me-down)
Socks: Tek Gear (hand-me-down)
Shoes: Smart Fit (hand-me-down)
Fabric, felt, and supplies (for tunic): Pat Catan's Craft Store ($7.00)
Foam sword: Foamies ($2.97)

And here's my sweet (but killer!) rabbit ...


Fleece "rabbit" hoodie: Old Navy ($17.00)
Long-sleeved onesie: Babies 'R Us (thrifted for $0.50)
Fleece pants: Old Navy ($11.00)
Socks: Unknown brand (hand-me-down)

Maybe, if I am really lucky, I can get my "shot" in this weekend when (hopefully) the rains stops and things dry up a bit ...

October 29, 2012

knights and killer rabbits

Even though the weather is supposed to be absolutely crappy, I can't help but get excited for Halloween ...


Costumes are made and ready to go!

September 28, 2012

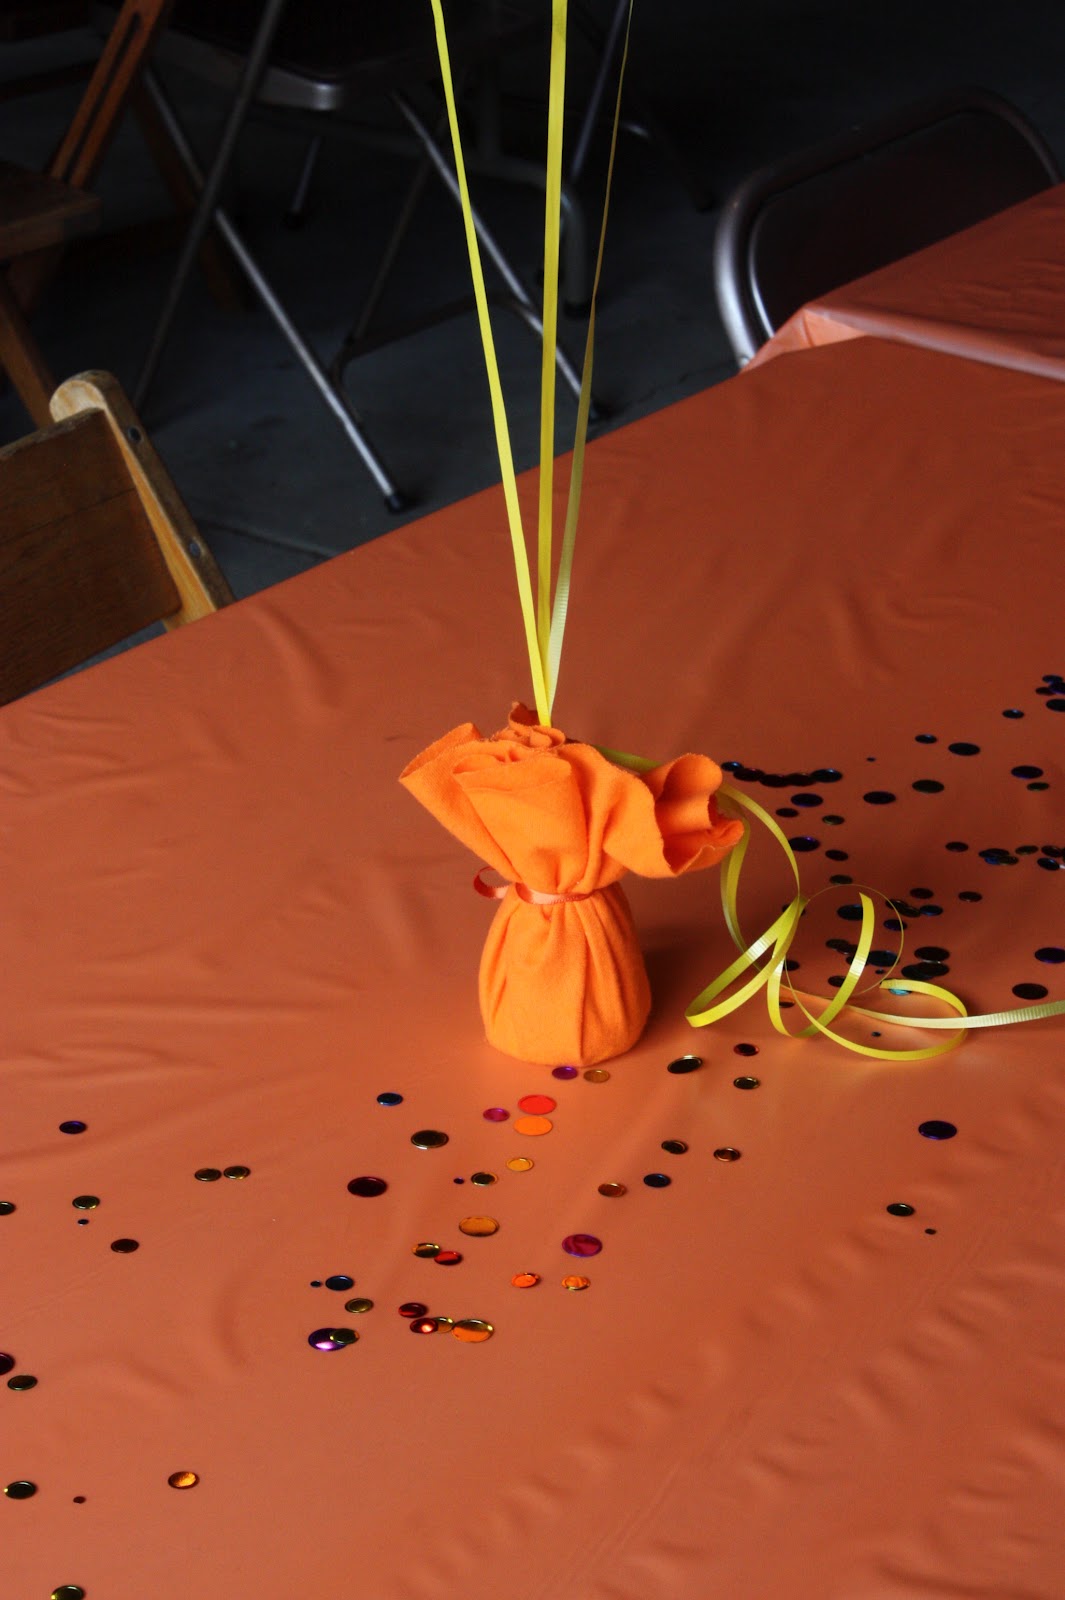
favorite color

He requested an "orange" birthday party.


So that's what he got.

June 4, 2012

how to make a turtle-shaped diaper cake

My husband's cousin is having her first baby (a boy) in August and is a bit of a turtle enthusiast ...  So, for her shower, I wanted to get creative and make her a turtle-shaped "diaper cake."

As I searched the internet for inspiration, I noticed two things ...

First, although there are many great pictures of finished turtle "cakes," I could not find a free turtle tutorial anywhere.

Second, from reading the descriptions of finished turtle-shaped "cakes" and tutorials that could be purchased, it seemed as if all of them were meant to become keepsakes ... That is, they were held together with glue, ultimately making the diapers and other components unusable.

Since I'm up for a challenge (and I've been feeling crafty lately), I decided to give my own "turtle diaper cake" a try ...  And, in the spirit of practicality, I made sure that all the baby items used to assemble the turtle could later be used by my husband's cousin and her newborn son.

On with the tutorial ...

Making the upper shell: 

Starting with the open end of the diaper, I rolled seven diapers and secured them in the middle with rubber bands.


Next I arranged those rolled diapers in a circle (with one diaper in the middle and the remaining six around it) and held that configuration together with another rubber band.


To create the top of the upper shell, I opened and flattened out another diaper and covered the top of the seven rolled diapers.  I used another rubber band to secure it in place.


Next, to give some depth to the shell, I took four more diapers, fully opened them, and then rolled them lengthwise.  I layered and wrapped them around the bottom of rolled diaper shell piece and secured them with a large rubber band.


To complete the upper shell, I opened folded diapers (six in total) and fed them up to the crease under a rubber band that was stretched around the top of the central shell piece.  With the rubber band securing the crease of the inside of the diaper, I folded the rest of the diaper back down.


Four more diapers (folded lengthwise), were added on top of the original ring of folded diapers to help "pad" the very bottom of the shell even more and to make it protrude a bit more than the very top ...


Once in place, and working in a counter-clockwise fashion, I used the tabs on the diapers to secure them to the central piece, thus completing the upper shell.


Making the lower shell (including the head, tail, and feet):

In order to avoid gluing any pieces, I started by taking a basic paper plate and taping three diapers (opened and rolled lengthwise) along the edge ... I played with this a bit, making sure that the final upper shell would sit nicely on top of the plate, with the rolled diapers protruding from below.


At the front, I created a large arch with the diaper so that the turtle's head (a styrofoam craft ball wrapped in a baby washcloth and secured with straight pins) could be attached (via safety pins) to the paper plate underneath.


I also secured the tail (a rolled baby washcloth) on the plate opposite of the head.


For the feet, I used four baby socks (stuffed with plastic from some baby socks I had received for Pearl) and secured them with embroidery floss to the plate from below.

Putting it all together:

Lastly, to hold the upper and lower shell pieces together, I embellished the turtle with ribbon and other various craft items (as well as some additional small baby gifts).  This was also useful in covering up any "flaws" or portions that did not look as nice as I would have liked ...


Overall, I was pretty pleased with my final "turtle diaper cake."  It was fun to try and figure out how to make everything work (and stay together), while creating something that still looked good and was, ultimately, usable.

Definitely a fun little weekend project!

May 29, 2012

cute floral centerpieces for my cute baby girl

Pearl was baptized over the long weekend, which meant a gathering of extended family and friends at our house afterward.  In order to make our garage a little bit nicer for my girl's first ever party in her honor, I put together some simple floral centerpieces for the folding tables.

I already had the small metal pails from Malcolm's second birthday party, so all I had to do was remove his "street signs" and put flowers in their place.  Easy!

Here is a quick tutorial ...

To make the centerpieces, you will need:


Small metal pails
Floral foam (mine were half spheres that fit snugly into each pail)
Silk flowers (I purchased mine in bulk from www.afloral.com)
Wire snips
Shredded paper

Clip the silk flowers to your desired length (I found that about two inches off the bottom for the central flower and four to five inches for the perimeter flowers worked well).


Insert the stems into the floral foam.


Once all of the flowers are in place and how you like them, use the shredded paper to "fill in" the gaps and create a more finished look.


Proudly display your final product!


In all, each centerpiece cost just under $5.00 and took less than five minutes to make from start to finish ...  Not a bad little decoration, if I do say so myself!